
Use Snöball to create impactful calls to action to your varied audience segments - on a broad scale, these would be your default Attendee, Speaker, and Partner segments, but you can create custom sub-segments (Exhibitors for example would fall under the Partner umbrella segment).
Each campaign should be tailored to your specific segment, at a specific time - for example, a campaign to mobilize attendees before the early bird registration deadline would have very different content than a speaker or exhibitor activation.
Snöball allows you to send as many calls to as many audience segments as needed for your event, and you are encouraged to set up a campaign schedule in advance. You'll be able to edit and reschedule your campaign at any time before it goes out.
To get started, from the Campaigns menu, select New Campaign:

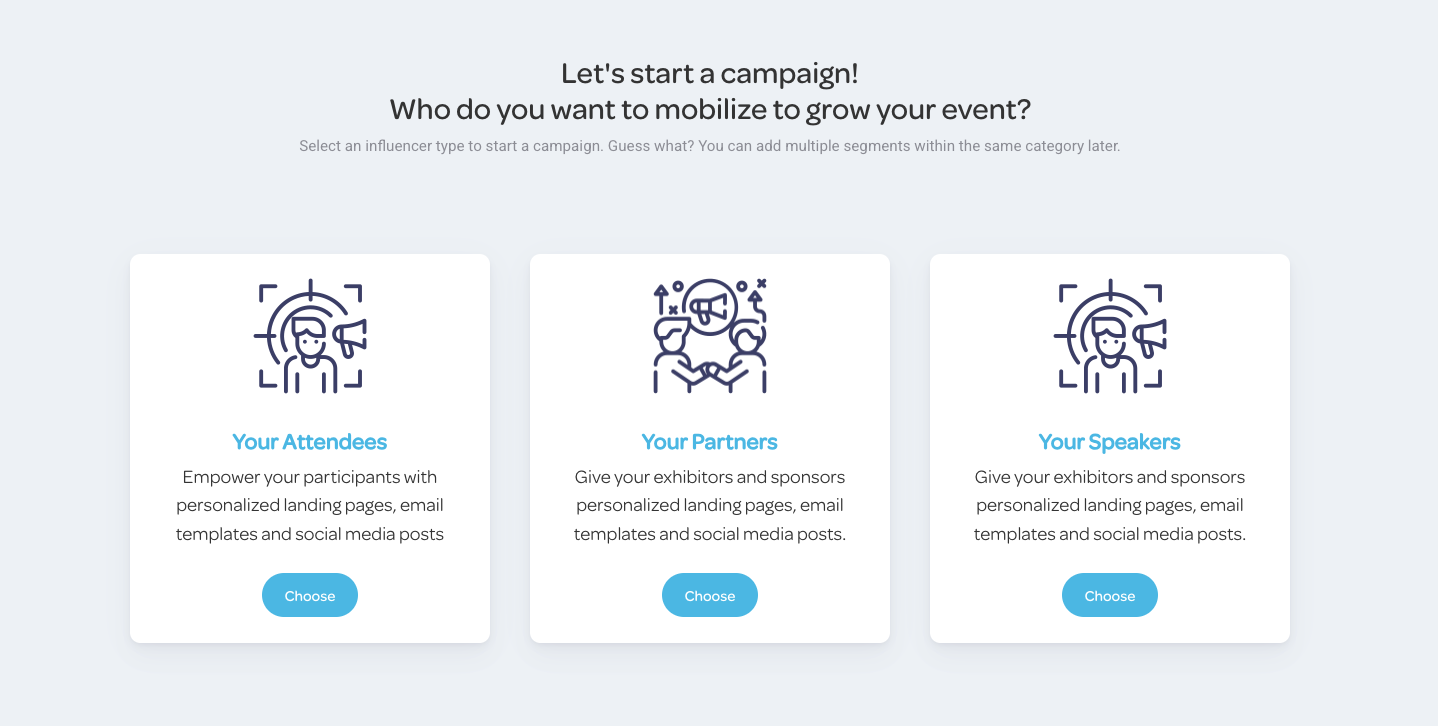
Next, choose influencer type - you'll be prompted to select from Snöball's default audience segments, which include Attendees, Partners, and Speakers:
Next, enter your basic campaign information:
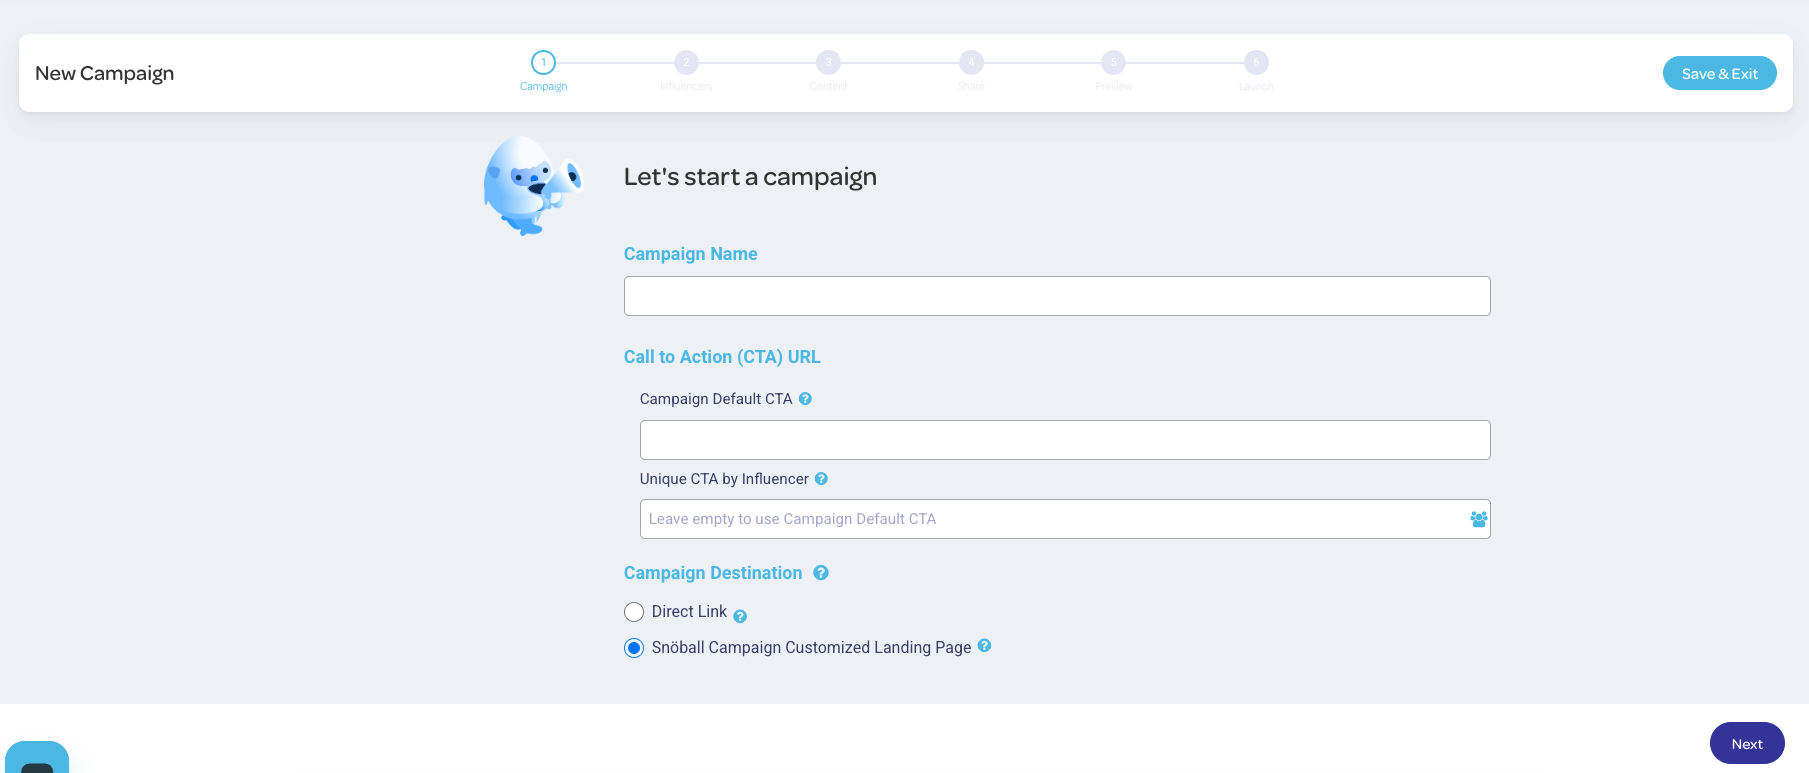
- Give your campaign a name - typically this would include the name of the segment that you're contacting, as well as any specifics like a scheduled date for the send. Adding the date to the name is particularly important if you're sending multiple scheduled campaigns to a particular segment.
-
Your default Call To Action (CTA) link is set in your Project Details settings - it's a universal link which leads to your event registration page.
You can use custom CTA links for each campaign, and you have two options available:
- Campaign Default CTA, which is a static link used for the specific campaign, or
- Unique CTA By Influencer, a link that uses custom dynamic merge fields to create a link unique to each influencer.
Next: Add Your Influencers