
Snöball allows you to create custom-branded landing pages for all of your influencers - it's rarely used for the Attendee segment, but it's an invaluable tool for your Speakers and Partners.
Partners (such as Exhibitors) can use their landing page to provide booth and product details before directing the invitee to the registration page, and Speakers can boost registration numbers by providing session and bio information. All landing pages support curated video presentations, used to provide even more details and personalization.
Getting Started
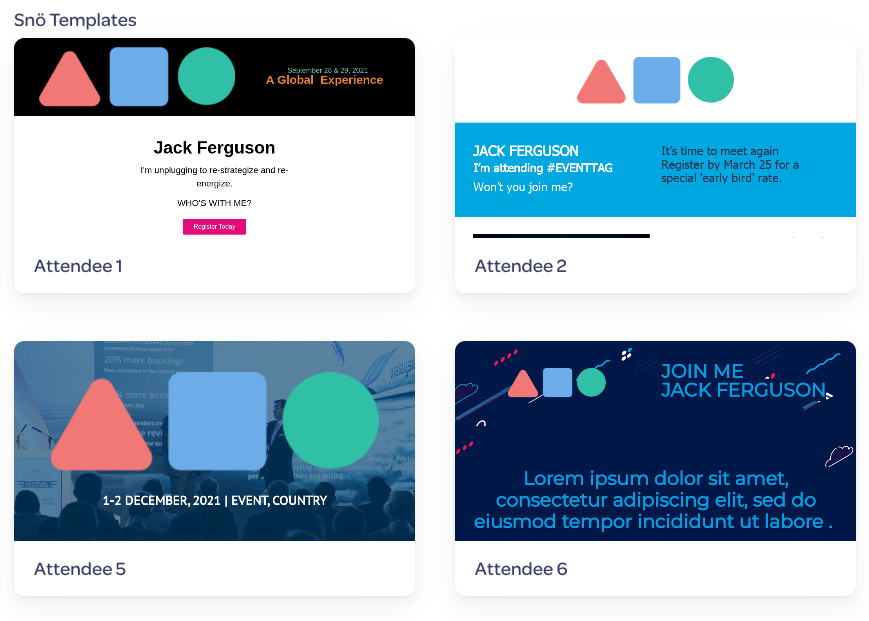
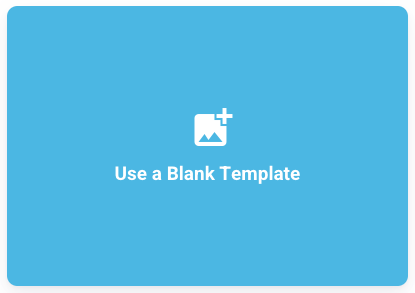
To start, select one of our preset customizable landing page templates, or select Use a Blank Template to start from scratch. Using a blank template is recommended only for advanced users, as the preset templates are fully customizable with your own branding:
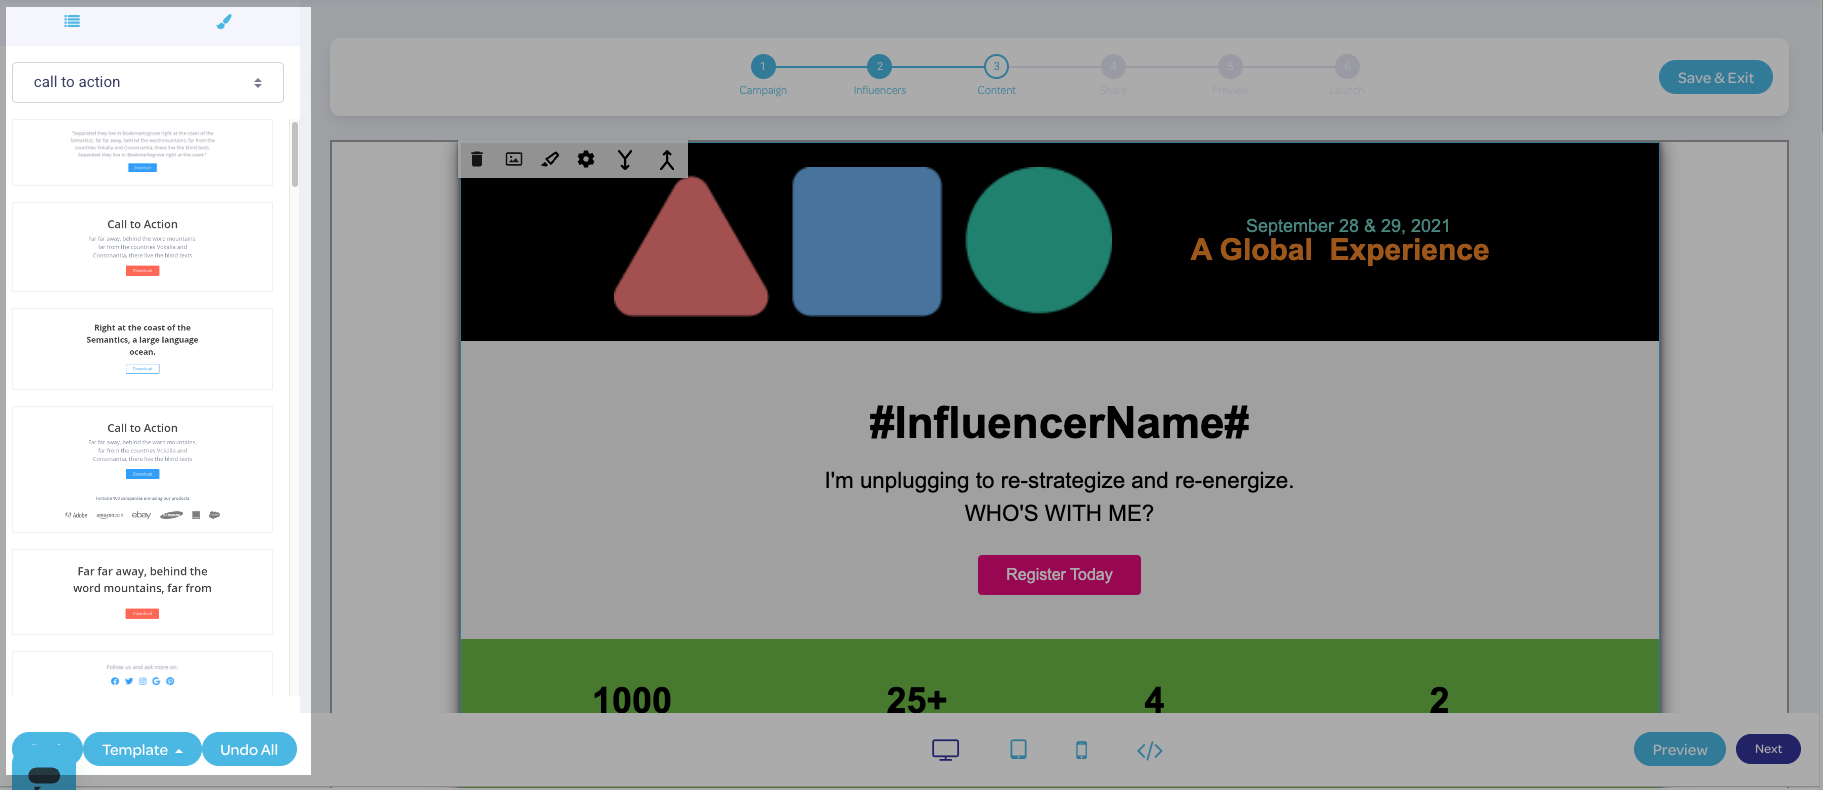
The Landing Page editor is divided into editable blocks, and each block has its own set of editing tools:

Additional customizable blocks are available to select from on the left-hand menu:
Block editing tools include:
-
 Delete - Deletes the selected block
 -
 Add Image - Upload a custom image to the block
 -
 Colour - Change the background colour of the block. Options include preset colour swatches, a colour editor, and the ability to manually input a custom colour hexadecimal code.
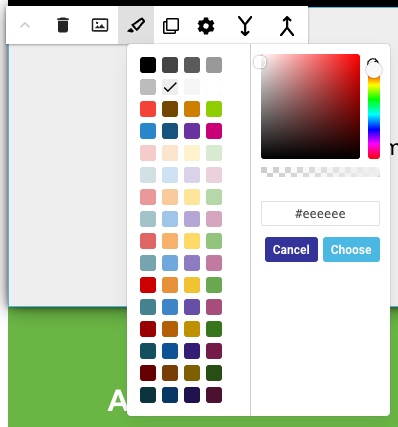
-
 Settings - Changes the basic layout options of the block, including dimensions, margins, padding, and image layout
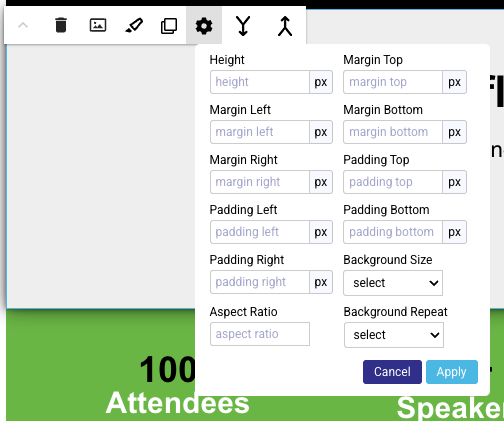
-
 Merge Up/Down - Merges the selected block with the one above or below it; please note that this is NOT a block reordering tool.
Adding Customized Text
The landing page can be customized with variable text options via dynamic custom merge fields to showcase the speaker or sponsor's participation in the event.
The merge fields used can be accessed through selecting an empty space (add a space on the page, then double-click to select) or existing text. A text editor toolbar will appear:
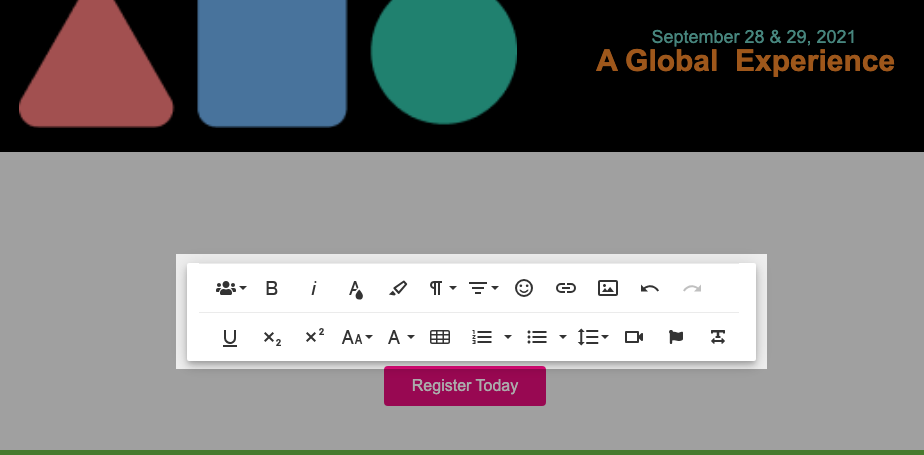
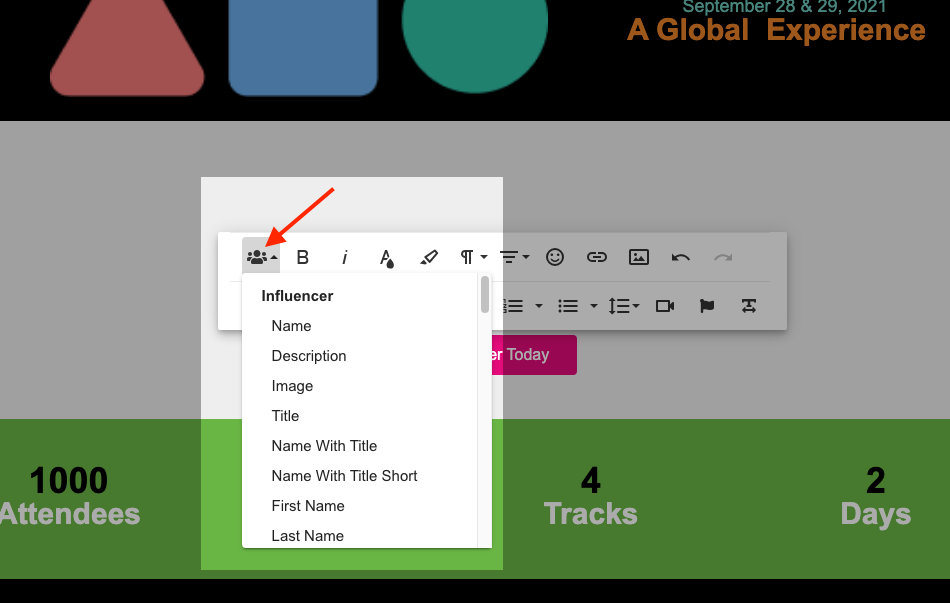
From here you will be able to select a number of variable text elements tied to your influencer, including their name, title, sessions, booth number, and more:
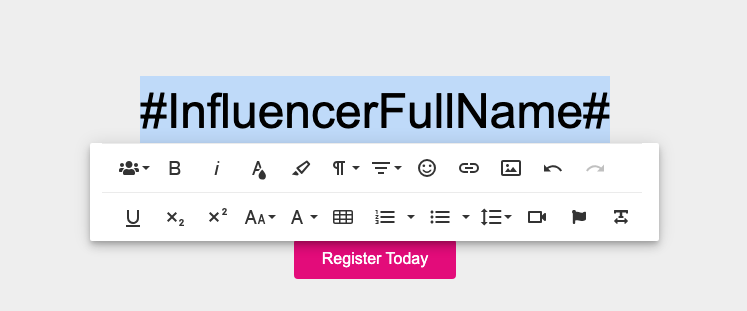
The variable element will appear on the page, and you'll be able to use the text editor menu to add formatting as required:
Adding Customized Images
Images can be used as variables as well; this is used to feature exhibitor logos or speaker headshots.
The first step would be to add a placeholder image - a default image that will appear if no custom headshot or logo image is available.
Click on the image to bring up a customization menu:
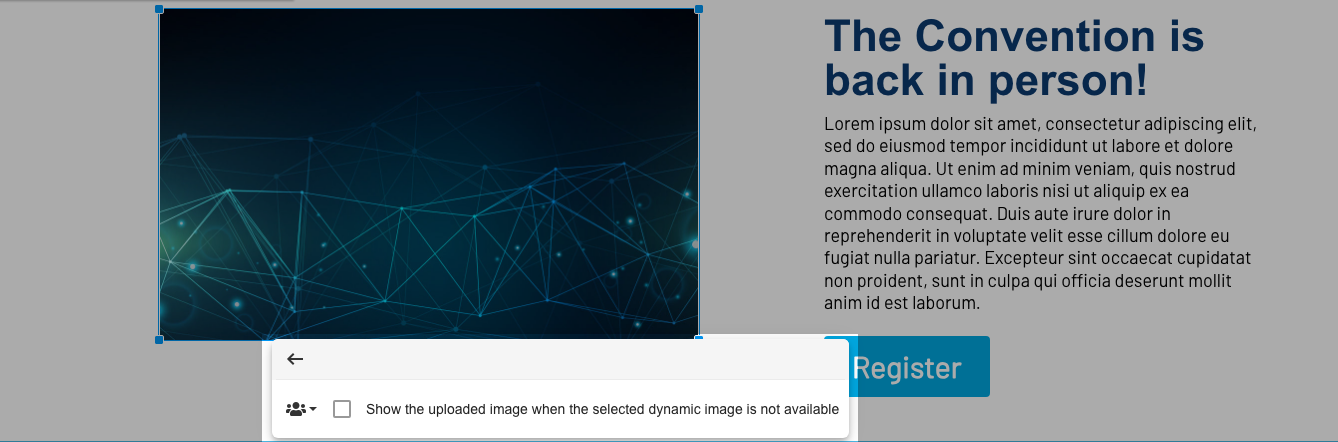
Select the option Show the uploaded image when the selected dynamic image is not available, and from the dynamic field options select Influencer->Image:
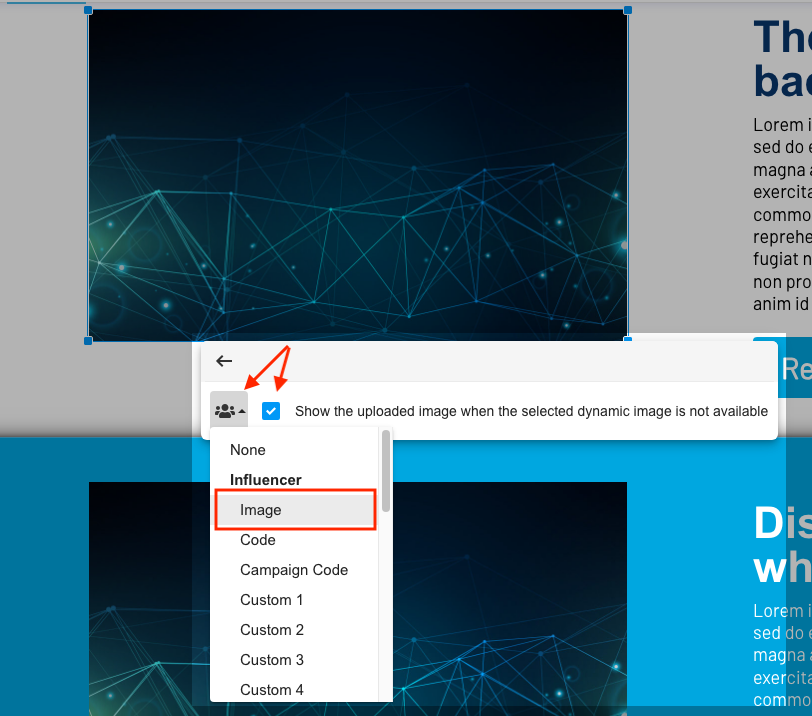
This will automatically populate page with the image associated with the speaker or exhibitor, with the default image appearing if no custom image is available.
Next: Create Your Social Share Page
Previous: Add Your Influencers