
The social share page is a key element of your campaign; this is how your event gets shared from your influencers to their invitees.
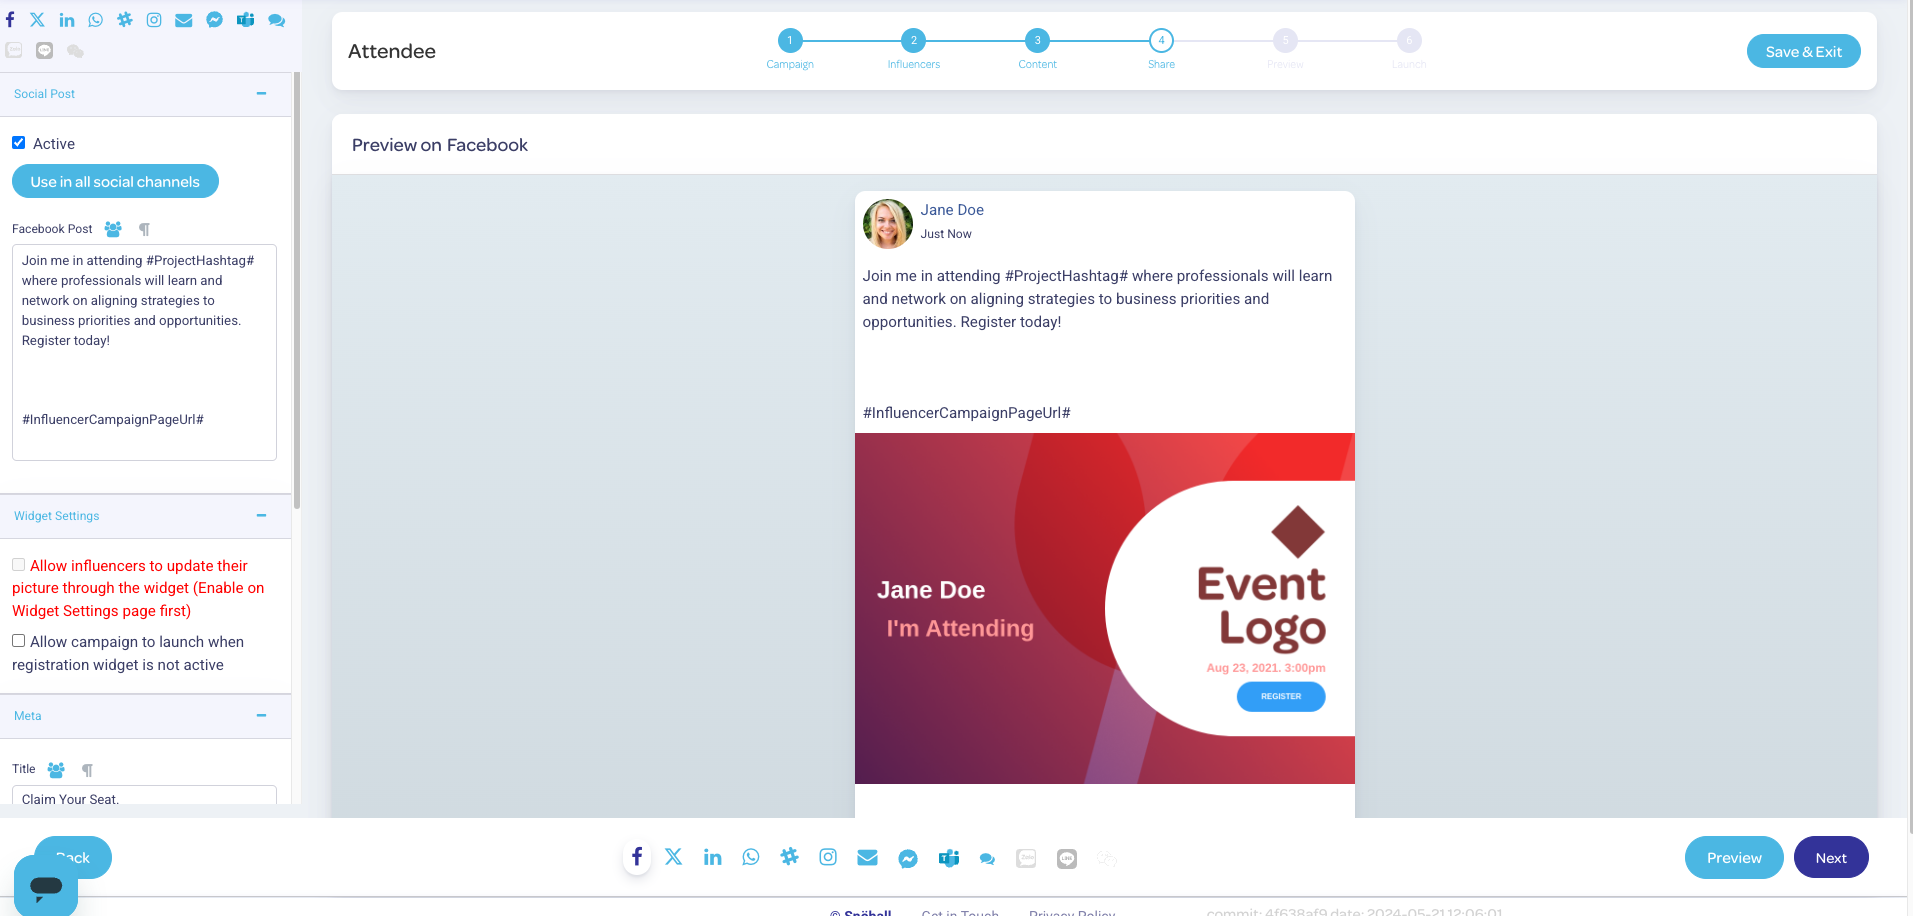
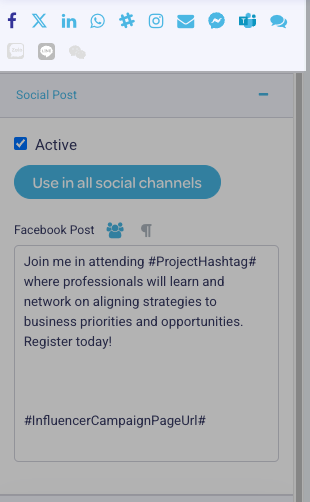
Text content is edited on the left hand side:
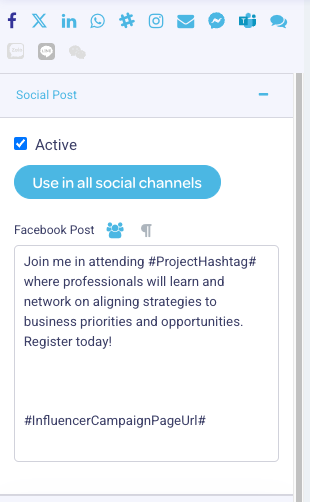
The preview is located in the centre of the page, and the updated text is reflected as you add it:
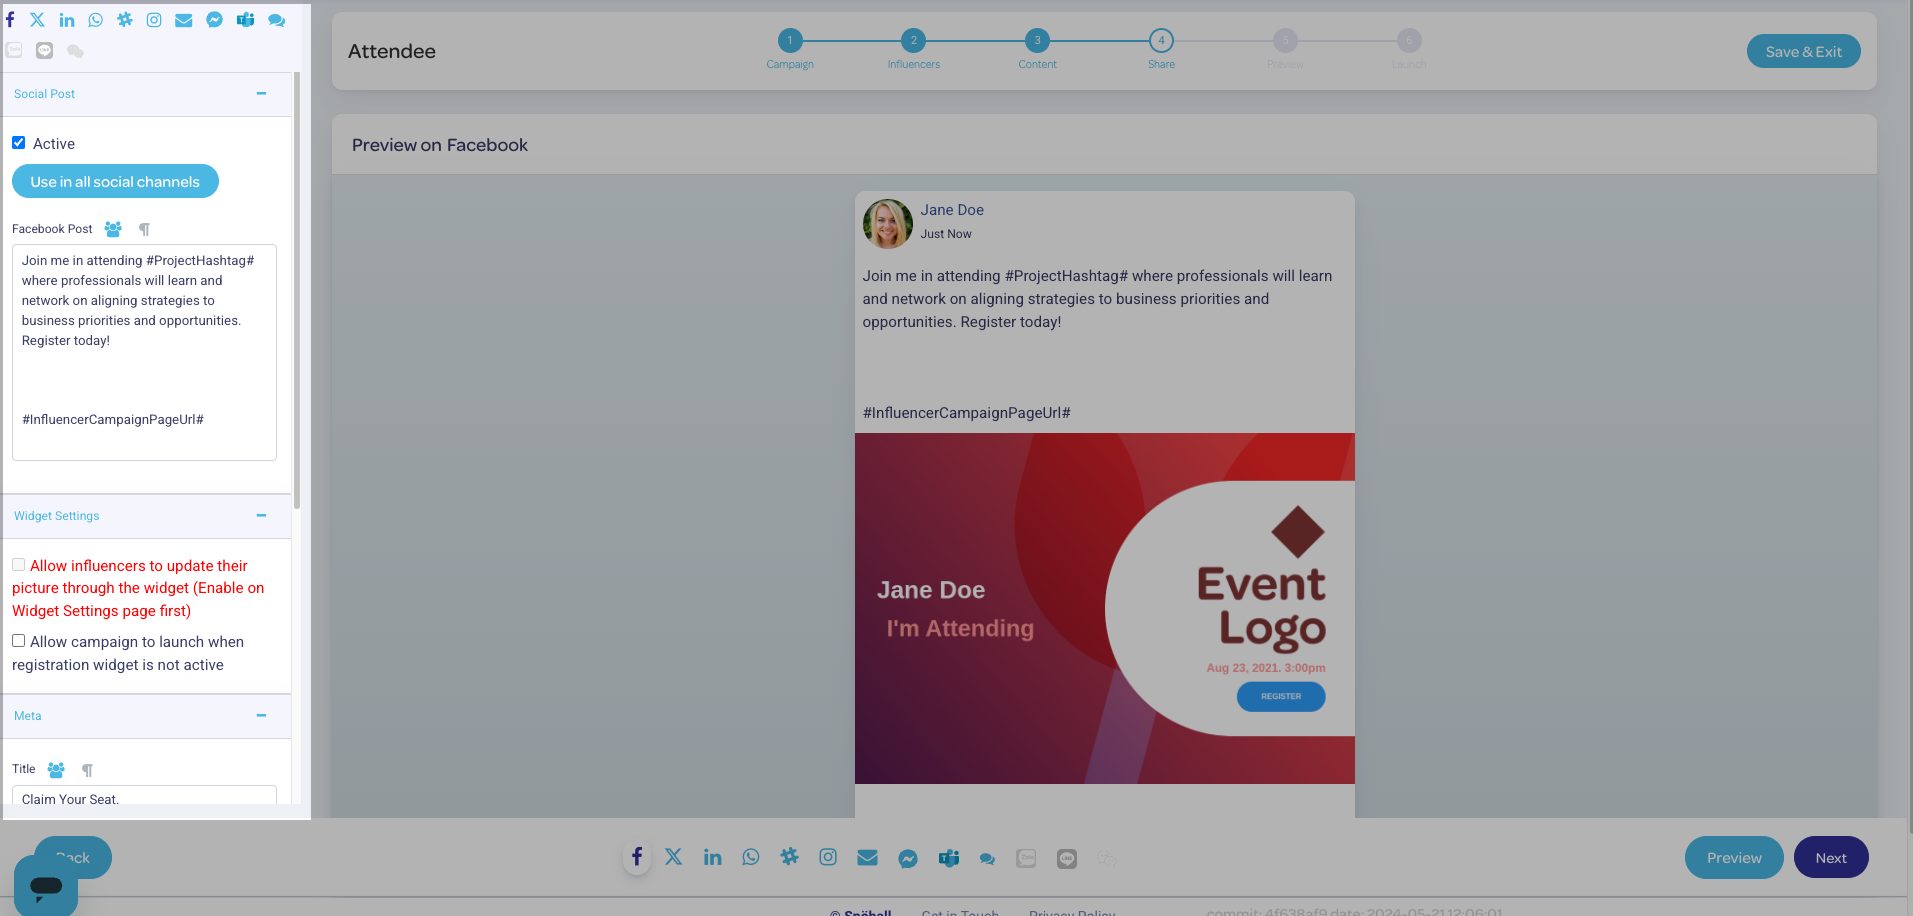
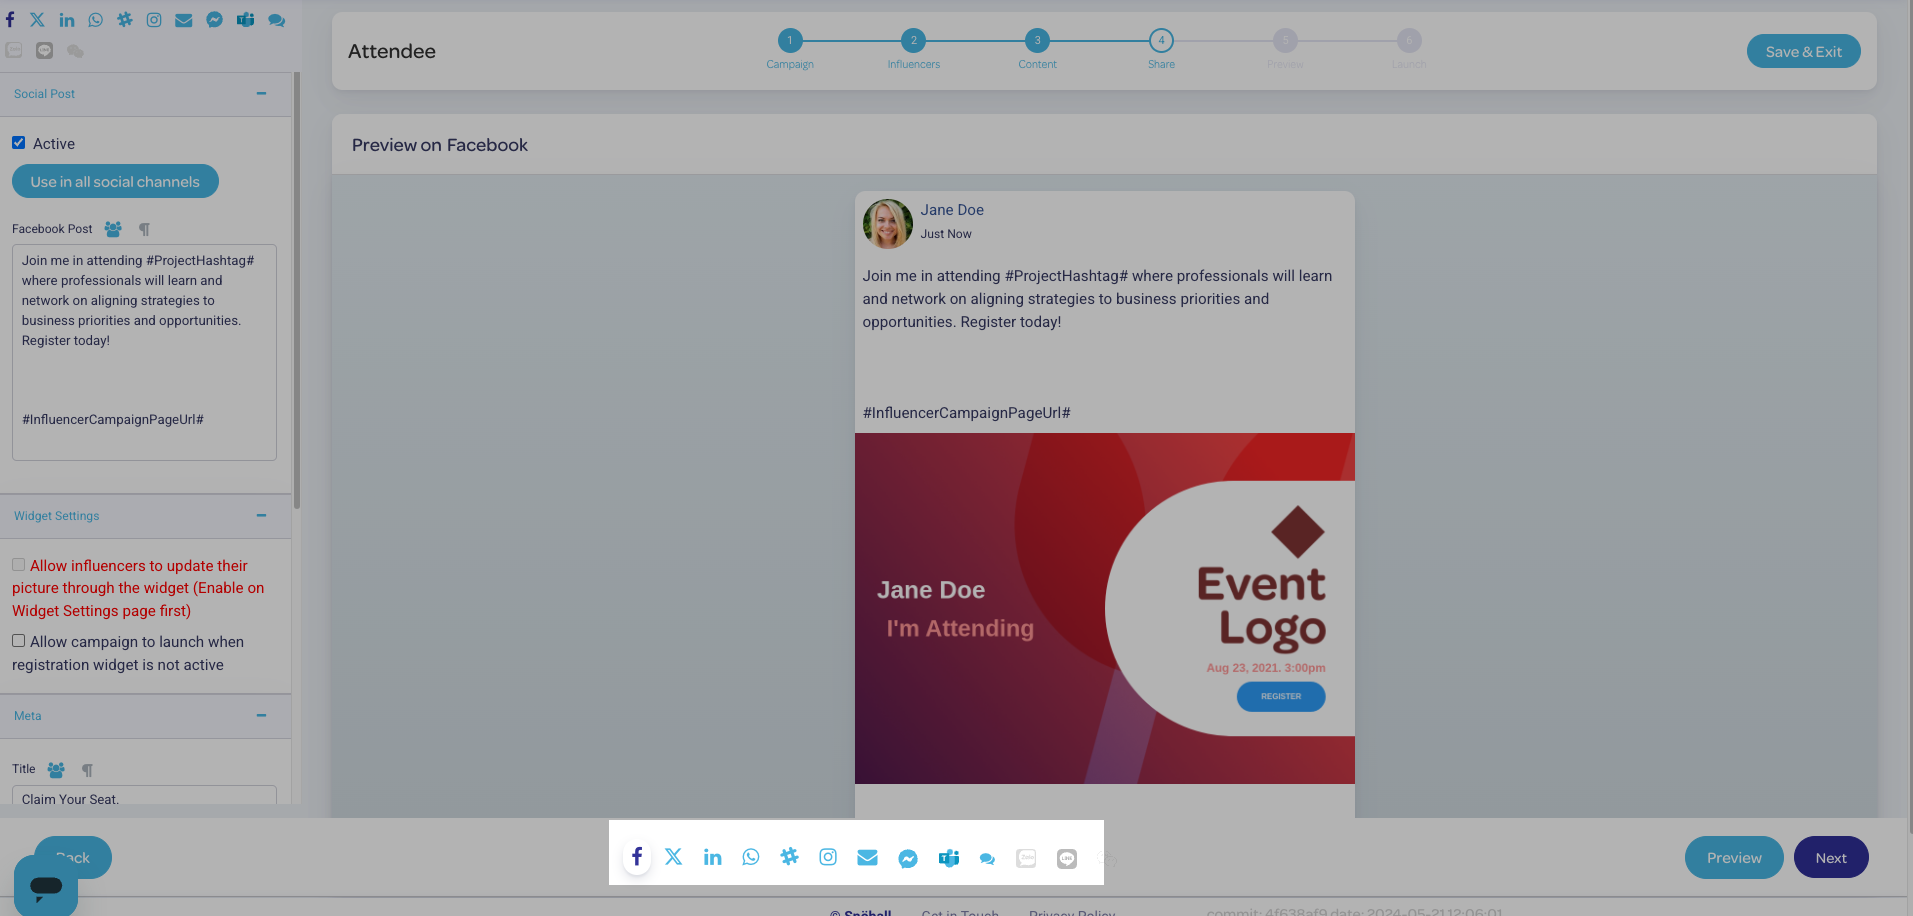
You can view how the shared post will appear in every supported social channel by using the selector at the bottom of the screen:
The text editor allows you to tailor the post that will be shared for several social channels, both public and private - select the channel that you want to edit from the top of the list.
The text content for each social channel will have that channel's character limit automatically applied.
To create universal content for ALL social channels, select Use in all social channels. Note that this option is not typically recommended, as your share post will be subject to the limitations of the most restrictive social channel.
Tables can't be imported directly. Please insert an image of your table which can be found here.
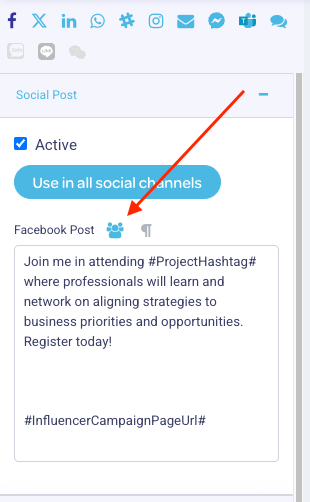
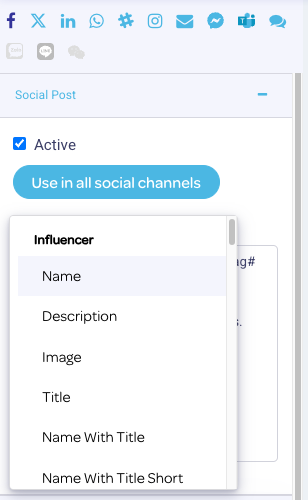
You can add dynamic custom merge fields to the social share screen, which will pull influencer and event information directly into the share message. Dynamic merge fields will appear flanked by a hashtag on either side.
Examples of dynamic content that you can merge include the influencer name, their landing page link, speaker session info, and custom video content.
Click the dynamic merge field icon in order to access the list of fields:
Tables can't be imported directly. Please insert an image of your table which can be found here.
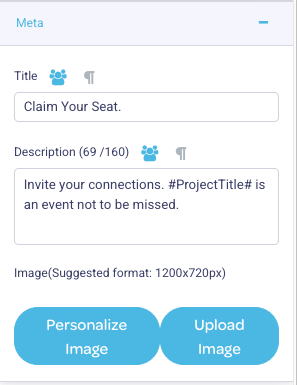
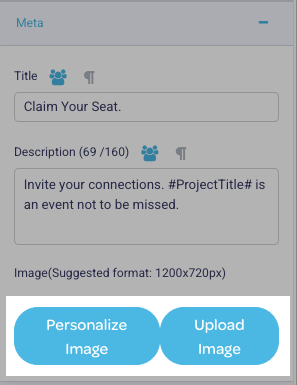
To customize the dynamic graphic in the share post, scroll to the bottom of the left hand menu to the Meta section. Select Personalize Image to select from preset editable graphics, or Upload Image to begin with your own template.
Tables can't be imported directly. Please insert an image of your table which can be found here.
Customizable preset templates will appear on the left hand side. Use the toggle at the top to switch between the template list and template advanced settings:
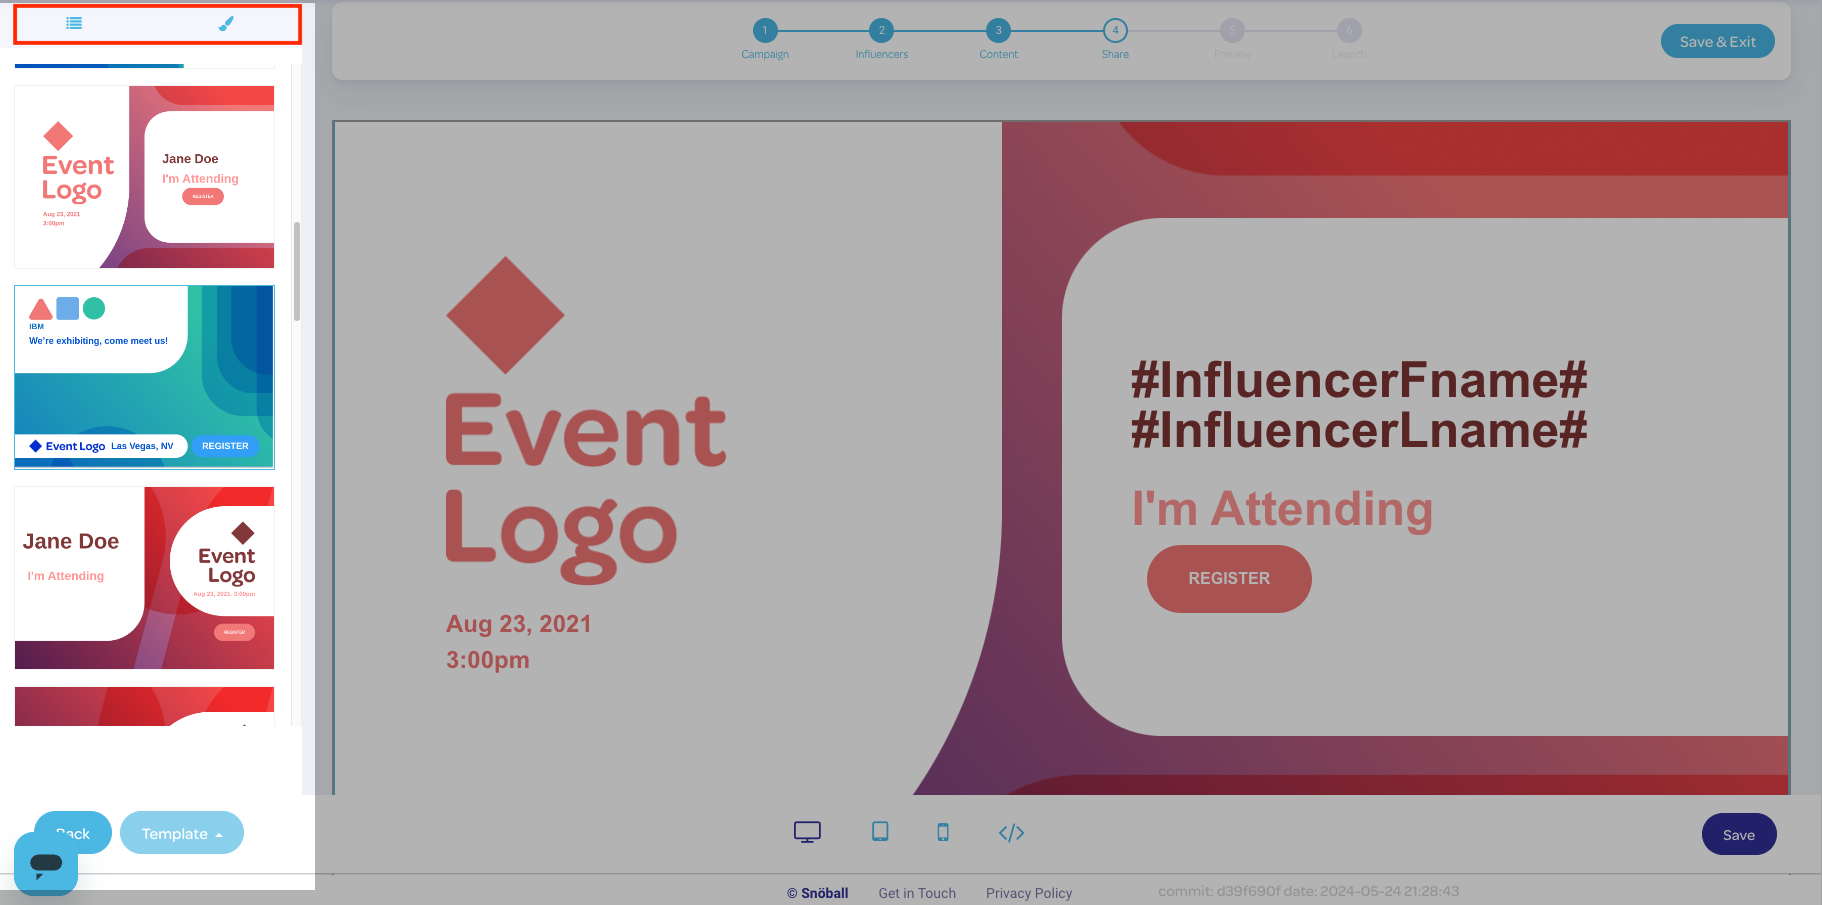
You can enter text (including dynamic merge fields) directly into the template.

Use the editor controls in the upper right of the template to add images and copy elements.

You can see how the share page will appear on various devices using the controls at the bottom of the preview. You can switch between desktop, tablet, and mobile phone formats:

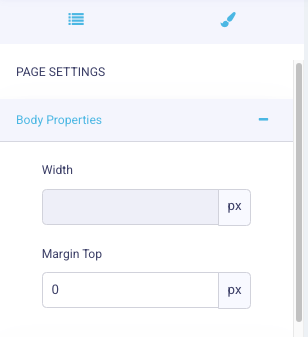
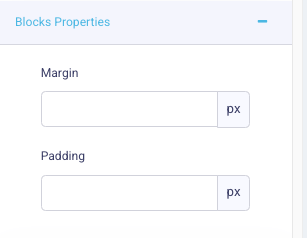
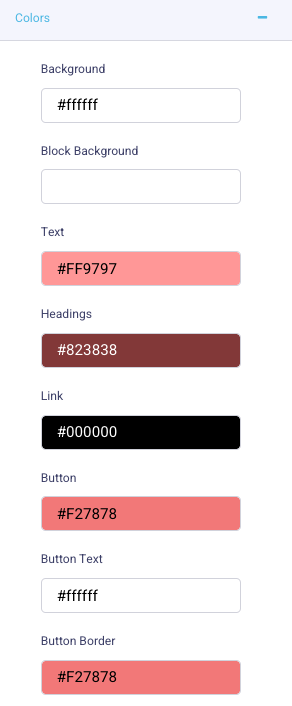
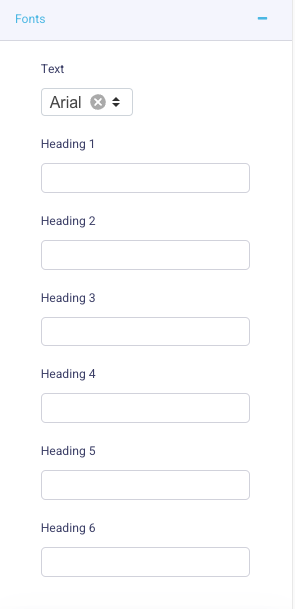
Template advanced settings include dimensions, margins, colours, fonts, and a direct CSS input field:
Tables can't be imported directly. Please insert an image of your table which can be found here.
Next: Create The Email Ask
Previous: Create Your Influencers' Landing Page