
The next step is to create the campaign email:
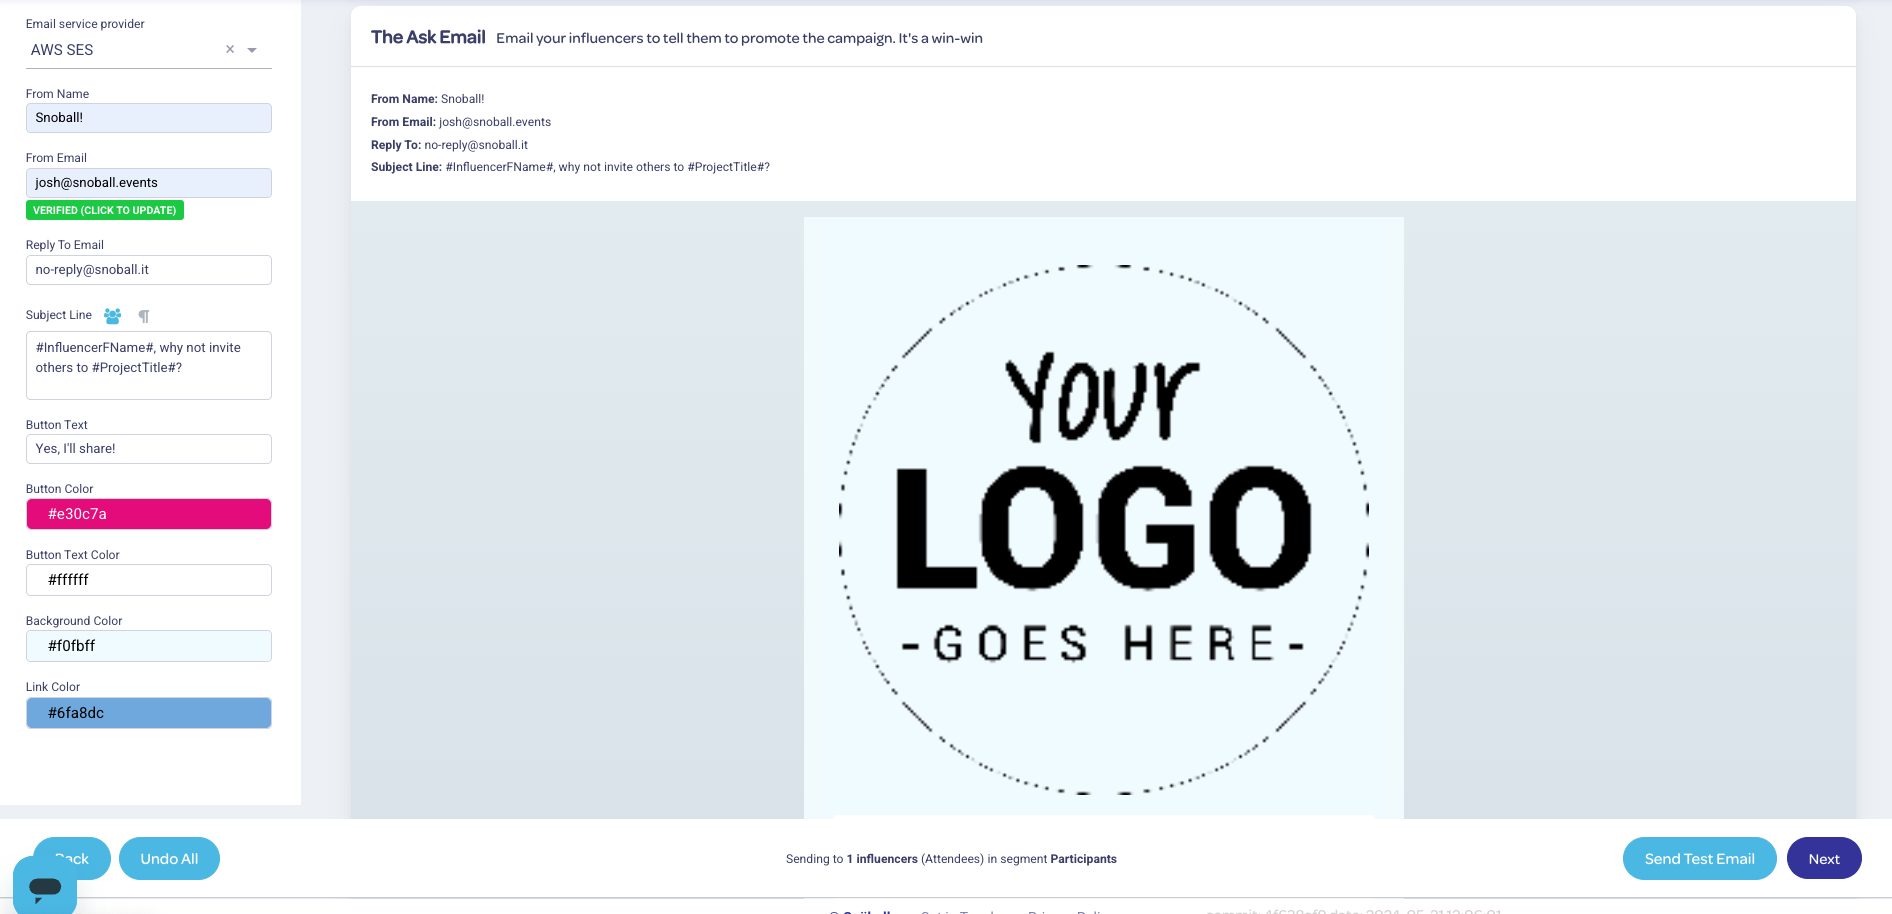
The left hand menu contains key settings for your email campaign:
Tables can't be imported directly. Please insert an image of your table which can be found here.

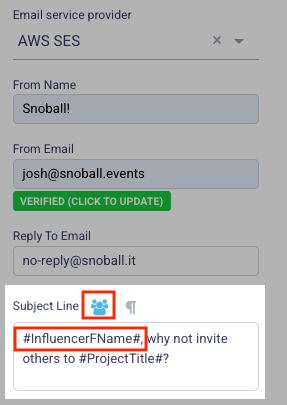
- Email Service Provider: This selects the email service provider that will send the campaign - select AWS SES
- From Name: The name that you want to appear to be from on the email when it's delivered.
- Reply To Email: The email address that you want replies to be sent. We typically recommend that a no-reply email address is used
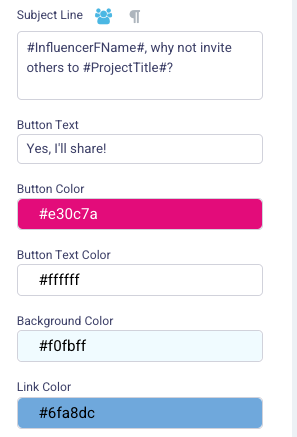
- Subject Line: Set your email campaign's subject line with this setting - you can add dynamic merge fields that pull influencer and event information as well
Tables can't be imported directly. Please insert an image of your table which can be found here.
The default template contains a placeholder header that you can replace - we recommend a size of 750px X 250px (3:1 aspect ratio)

An image editor menu is available to place and edit your image:
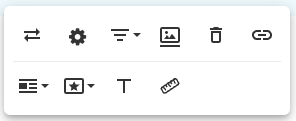
Image editor controls include the following:
Tables can't be imported directly. Please insert an image of your table which can be found here.
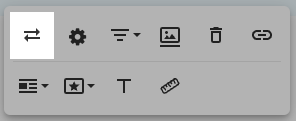
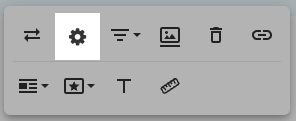
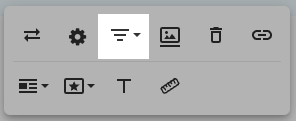
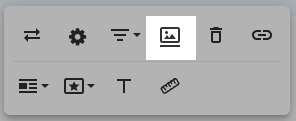
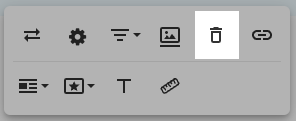
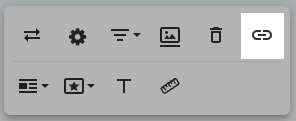
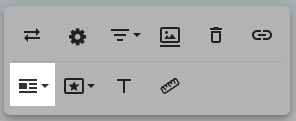
Image display:
- Inline (allows text elements to wrap around the image)
- Break text (adds a line break around the image)
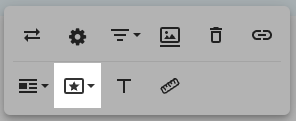
Image style - adds a border around the image (this works well with variable images like headshots and logos). Options include:
- Rounded
- Bordered
- Shadow


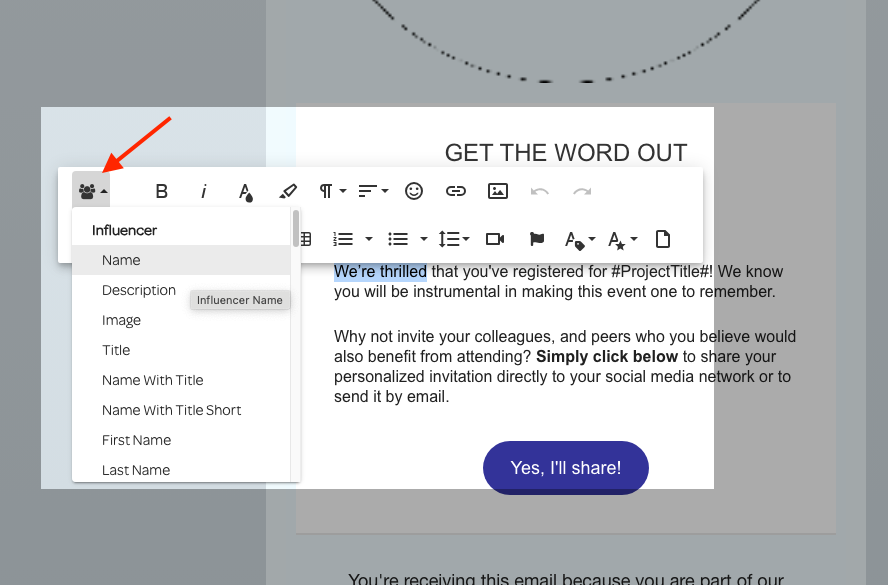
Basic editing controls are also available for the text elements - variable dynamic fields are included so that influencer-specific data can be merged into the email
Next: Get The (Snö)ball Rolling!
Previous: Create Your Social Share Page